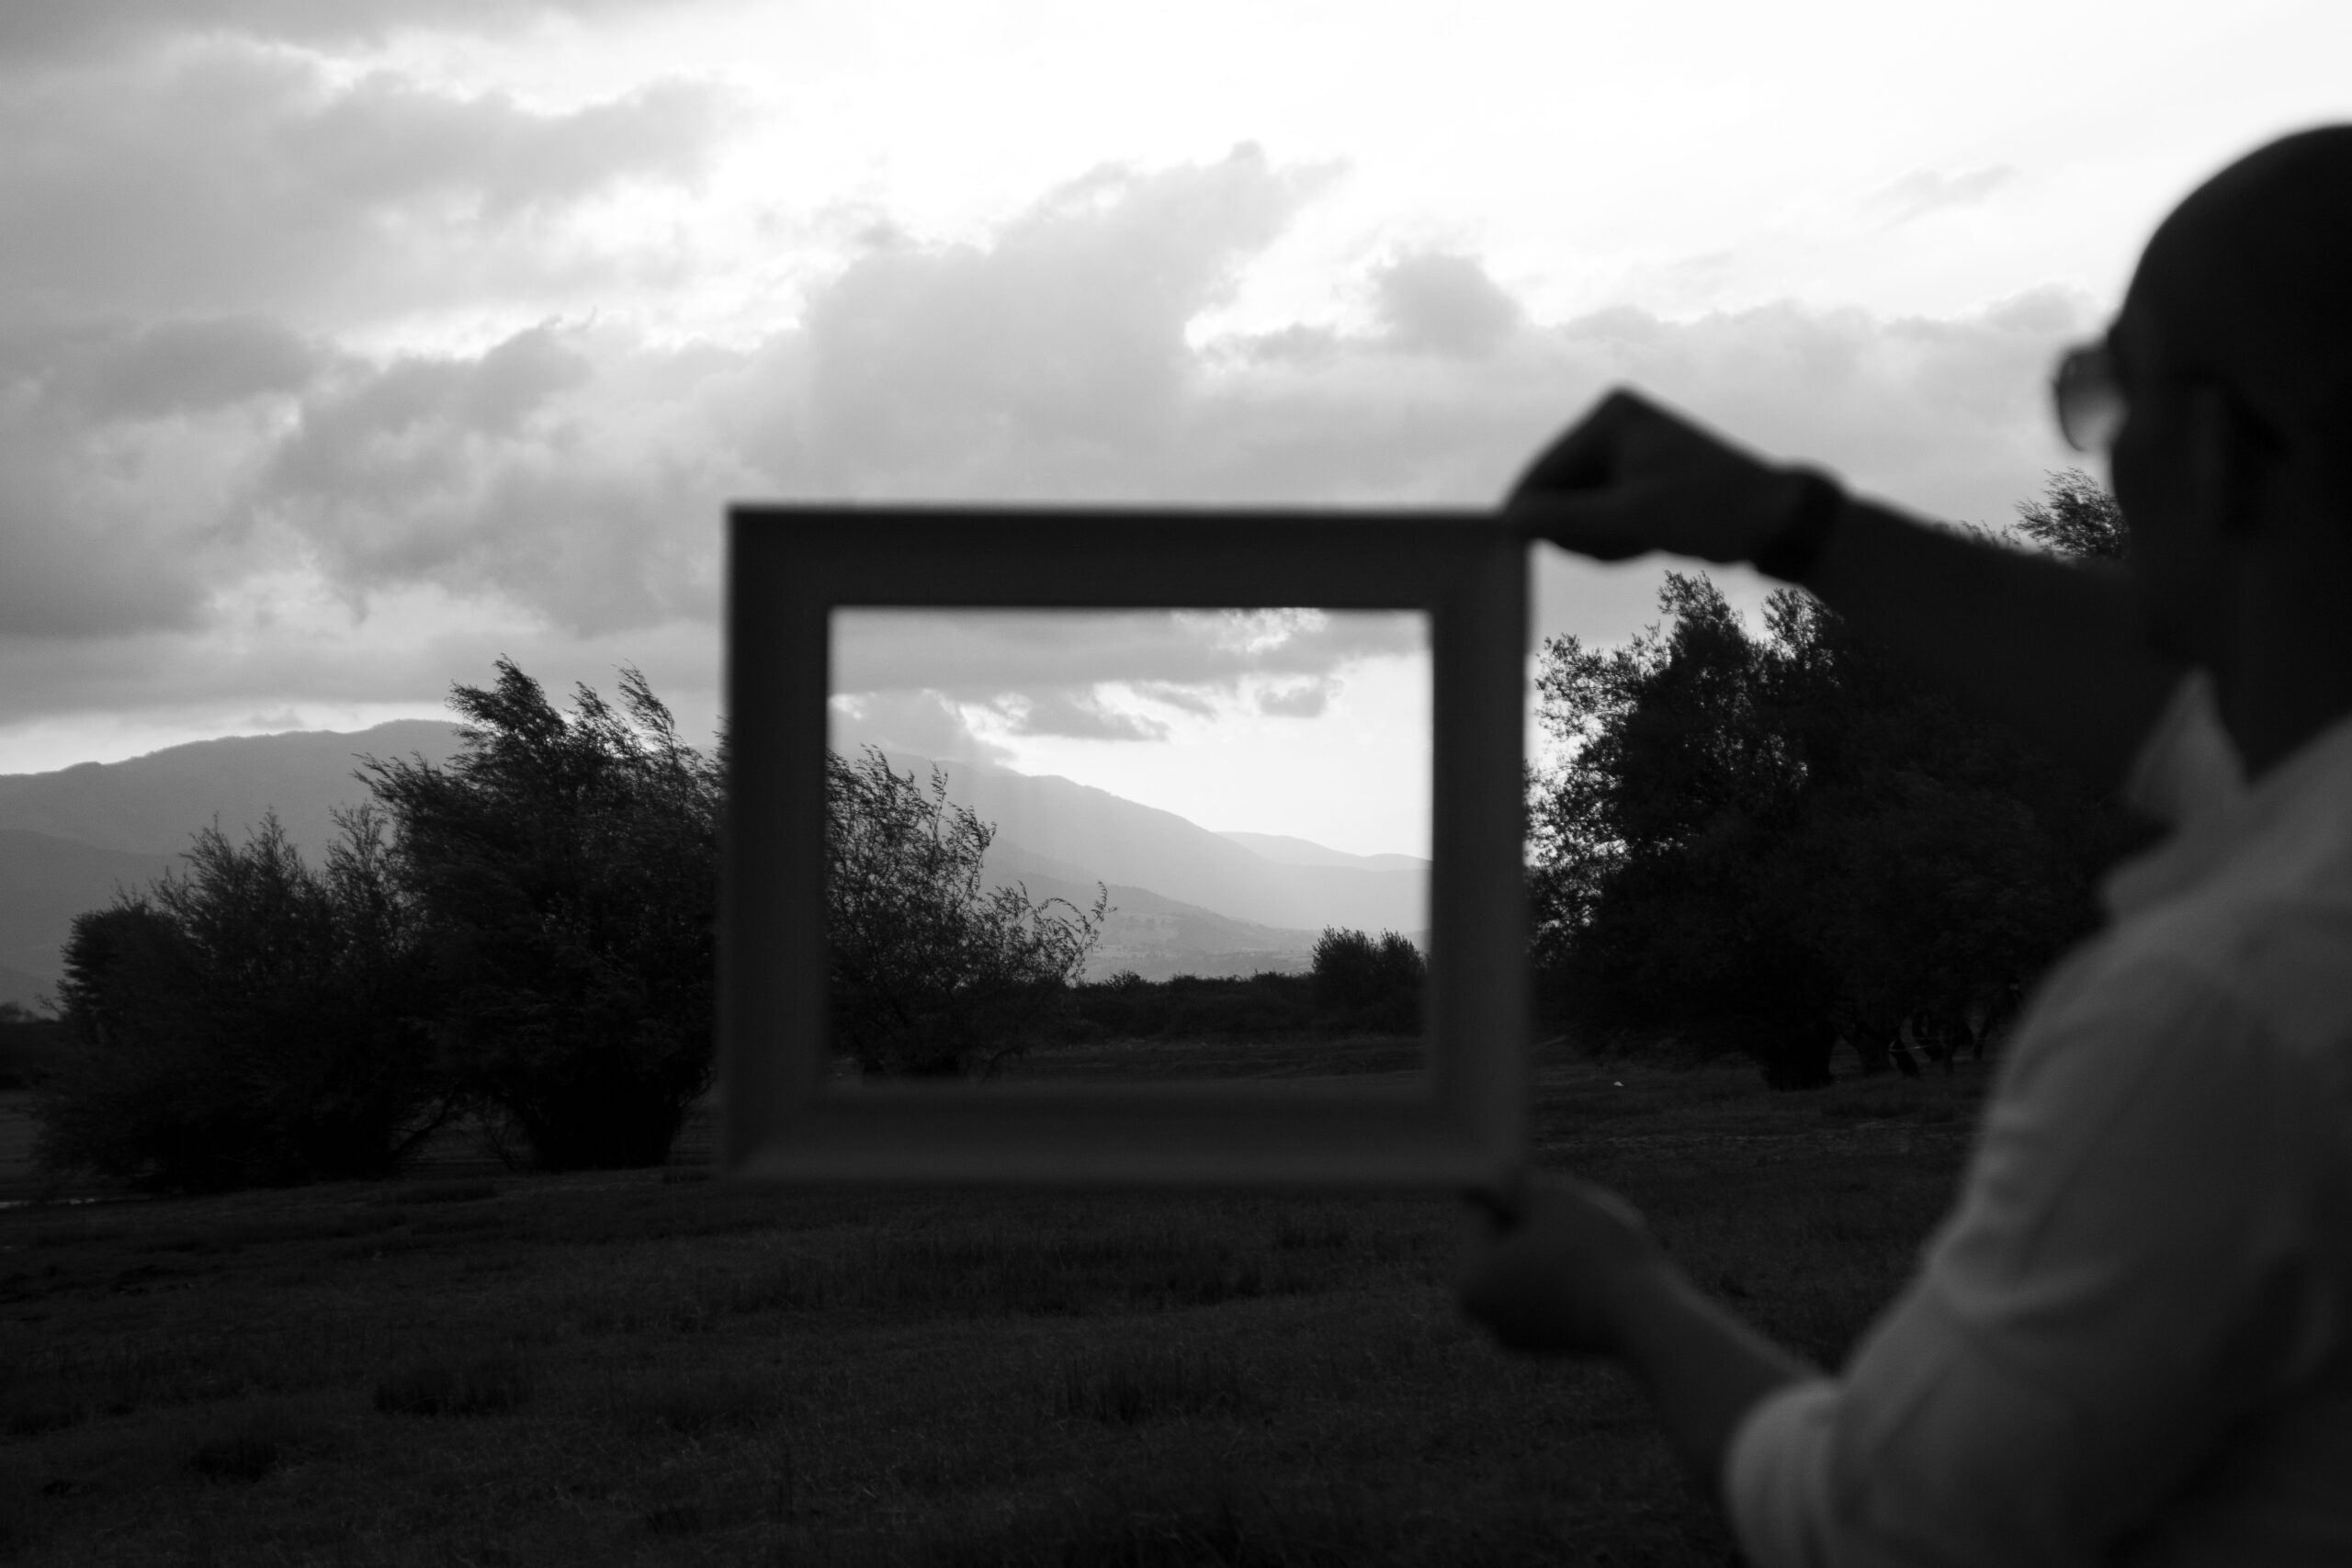
You took the photo. It looks… off. You can’t explain why. The subject is there. The light is fine. But something still feels wrong.
That’s a composition problem — and it’s incredibly common.
Composition means how you arrange elements inside your frame. It’s not about gear or editing. It’s about where you point your camera and why.
In this guide, five composition techniques can help you click better pictures. You can use all of them today. On your phone. No extra gear. No experience needed.
Rule of Thirds

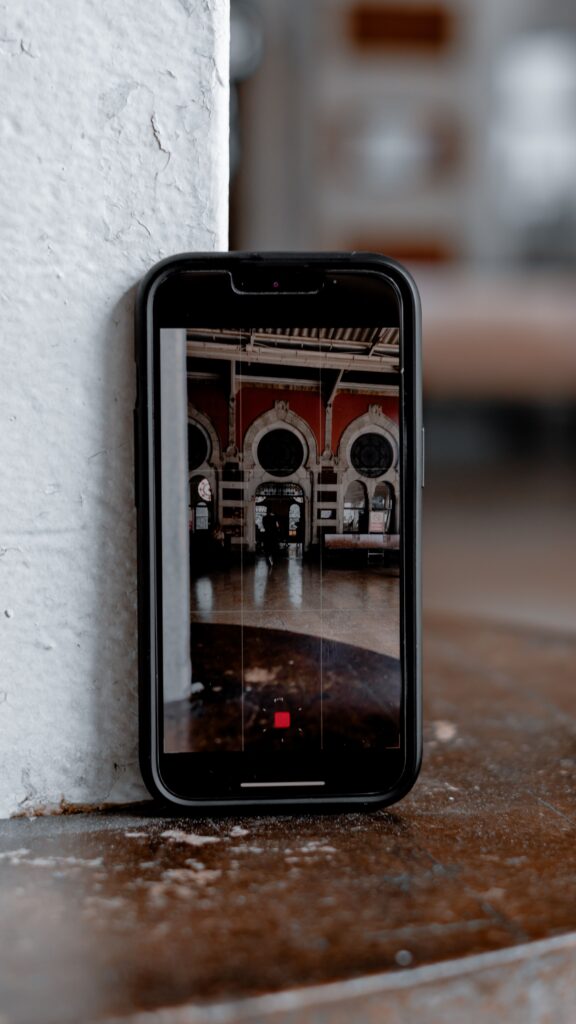
The rule of thirds splits your frame into a 3×3 grid — nine equal boxes. You get two vertical lines and two horizontal lines. Where the lines cross, you get four points.
These points are known as the “power points.”
Why it works: Your eyes move naturally toward those intersection points. Subjects placed there feel intentional. Subjects placed dead centre often feel static or dull.
How to use it:
- Enable the grid overlay in your camera app (Settings → Grid).
- Choose your subject — a person, a building, a tree.
- Move your camera until your subject sits on one of the four intersection points.
- Don’t move the subject. Move your camera instead.
- Take the shot. Compare it with a centred version.
Real-world example: You’re shooting a street portrait. Place your subject’s eyes on the top-left intersection point. Leave the right side of the frame open. The empty space adds breathing room and helps with the story.
Common mistake: Putting the horizon dead centre in landscape shots. Instead, place it on the top or bottom third. It immediately makes the photo more interesting.
Leading Lines
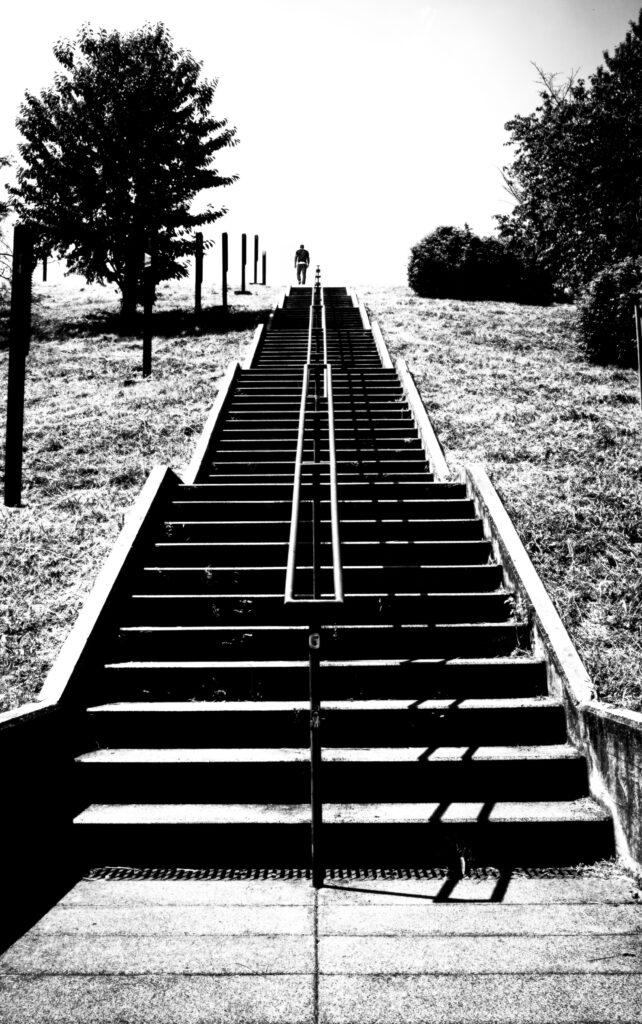


Leading lines are lines in your frame that guides the viewer’s eye. These lines pull attention toward your subject. Roads, fences, rivers, hallways, and staircases all work as leading lines.
Why it works: Your brain follows lines automatically. A line that leads to your subject makes the viewer look exactly where the artist wants them to look.
How to use it:
- Look for strong lines in the scene — they can be either natural or man-made.
- Position yourself such that the line starts near a corner of your frame.
- Follow the line with your eye. Does it lead toward something interesting?
- Place your subject at the end of that line.
- Shoot from low or high angles to make the line more dramatic.
Real-world example: You’re on a long road. You stand in the middle lane. The road lines converge in the distance. You place a person at the end of those lines. The viewer’s eye travels the full frame before landing on your subject.
Common mistake: Using a line that extends beyond the frame. Your viewer’s eye escapes the photo entirely. Always check where your line ends before you shoot.
Framing

Framing means using elements inside your scene to create a “frame within the frame.” Doorways, windows, tunnels, arches, and tree branches all work as natural frames. Lenses or plastic pipes or cardboard pipes can even be used to create such effect.
Why it works: A frame adds depth and layers to a flat image. It also directs attention. The viewer looks through the frame and immediately sees your subject. It creates a sense of discovery.
How to use it:
- Scan the scene before you shoot. Look for natural openings or borders.
- Position yourself so the framing element surrounds or overlaps your subject.
- Your frame doesn’t need to be sharp. A blurred doorway in the foreground works.
- Keep your subject clearly visible inside the frame.
- Experiment with how much of the frame element you include.
Real-world example: You’re shooting a landscape. You stand under a tree and use the overhanging branches to frame the mountain in the distance. The branches create a natural border. The mountain becomes the focal point.
Common mistake: Choosing a frame that distracts more than it helps. Complicated foreground elements compete with your subject. Keep the frame simple.
Depth

Depth means showing foreground, midground, and background in a single shot. It makes a two-dimensional photo feel three-dimensional.
Why it works: Real life has layers. When your photo shows those layers, it feels immersive. The viewer feels like they could step into the scene. A flat photo with only one layer feels disconnected.
How to use it:
- Find something interesting to put in the foreground — flowers, rocks, a person.
- Identify your main subject in the midground.
- Look for a background that adds context without distracting.
- Get low or move close to your foreground element to exaggerate the depth.
- Use a wide-angle lens or your phone’s 0.5x ultra-wide mode for maximum effect.
Real-world example: You’re shooting a landscape. In the foreground, you frame wildflowers. In the midground, a person walks along a path. In the background, mountains rise up. All three layers are visible. The photo has real dimension.
Common mistake: Forgetting the foreground. Most beginners only think about the subject and background. Adding foreground interest is the fastest way to make a flat photo feel cinematic.
Symmetry

Symmetry means arranging your frame so both sides mirror each other. You can also use patterns — repeating shapes, colours, or textures — to create visual rhythm.
Why it works: The human brain finds symmetry visually satisfying. It feels ordered and calm. Breaking that symmetry with a single element creates powerful contrast and pulls focus instantly.
How to use it:
- Look for naturally symmetrical scenes — corridors, bridges, staircases, reflections.
- Stand exactly in the centre. Use your grid lines to align your shot.
- Keep your horizon level. Even small tilts destroy symmetry.
- For reflections, shoot water surfaces, mirrors, or glass buildings.
- Try placing a subject slightly off-centre to break the symmetry deliberately.
Real-world example: You’re inside a long corridor. Doors line both sides evenly. You stand in the middle. Both sides mirror each other perfectly. You place a single person at the far end. The symmetry frames them. The photo has instant impact.
Common mistake: Shooting symmetry from slightly off-centre. The effect disappears. Even a small shift ruins the balance. Take the extra moment to align your shot precisely.
How to Improve

Turn on your camera grid now. Go to your phone camera settings and enable the grid overlay. This gives you the rule of thirds lines at all times. You’ll start seeing frames differently within one week.
Shoot the same subject five different ways. Pick any subject — a cup, a door, a tree. Shoot it using all five techniques back to back. Don’t stop at one good shot. Force yourself to try every approach. This builds compositional muscle memory fast.
Reverse-engineer photos you admire. Next time you see a photo that stops you scrolling, ask: where is the subject placed? What lines exist? Is there depth? Is there a frame? Copy the technique in your next shoot. You’re not stealing — you’re learning.
Break the rules on purpose. Once you know the rule of thirds, try placing your subject dead centre intentionally. Once you know symmetry, break it deliberately. Rules give you control. Breaking them gives you creativity. But break them with purpose, not accident.
FAQ
Do I need a professional camera to use composition techniques?
No. Every technique in this guide works on any device. Your smartphone is enough. Composition is about where you place things in the frame — not about megapixels or lens quality. A well-composed phone photo beats a poorly composed DSLR shot every time. Start with what you have.
Can I break the rule of thirds?
Yes, but learn it first. Centred compositions, dead symmetry, and rule-breaking shots all work when done deliberately. The rule of thirds exists because it works reliably. Once you understand why it works, you earn the right to ignore it. Break rules on purpose, never by accident.
Which technique should beginners try first?
Start with the rule of thirds. It gives you the most immediate visual improvement. Enable your camera grid, place your subject on an intersection point, and shoot. You’ll see the difference in your first ten photos. Once that feels natural, move on to leading lines.
Conclusion
You now have five real techniques you can use today.
Rule of thirds gives your subject a natural, balanced position. Leading lines pull your viewer’s eye exactly where you want it. Framing adds depth and draws attention to your subject. Depth makes flat images feel three-dimensional. Symmetry creates visual satisfaction — and breaking it creates drama.
Good composition is not a talent. It’s a habit. You build it by shooting more, noticing more, and asking “why does this work?” every time a photo catches your eye.
Ready to go deeper? Read our guide on the best beginner camera settings for your next shoot.
