If you want to start photography in India, it can be an overwhelming process, especially with all the recommendations and advice available online.
The checklist is an important matter when choosing and buying a camera and other equipment.
Buying technical or specialised camera equipment without a systematic plan or a checklist of the things that you want can later result in various issues.
This could lead to inconsistent performance, inadequate spending, avoidable replacements, and other issues.
If there is no checklist of all the qualities that you want and that matter the most, there are more chances that you buy just for a single feature or the brand reputation.
Instead of relying on the recommendations of your peers or assumptions, it’s better to weigh all the options systematically and consistently.
There are a lot of climatic conditions, such as high temperatures, seasonal humidity, and dust, that have a huge impact on the durability and the performance of the equipment over time.
Financial constraints are also an important factor that is involved in the process, particularly for students, hobbyists, or even self-funded beginners.
There is also the issue of the availability of some of the brands or specific models that can vary across different cities.
If there is no purchasing strategy, then you are more likely to overspend on non-essential items.
The checklist that you make should be simple, practical, easy to follow, and also printable so that you can access it easily while making purchases.
It should focus mainly on the factors like functionality, durability, and value for money, which are important in the Indian market.
Another thing that will help you use this guide effectively is to start by knowing your photography goals and the shooting conditions.
The Honest Truth: Essential Photography Equipment That Actually Matters
Online articles, social media, and influencers can create the impression that you need an expensive and long list of equipment can help you get the best images.
Due to these beliefs, many new photographers start with overspending, unrealistic expectations, and can shift the focus from the things that matter most, the composition, light, timing, etc.
These are the main reasons that new photographers start with heavy and unimportant equipment rather than the right camera in hand.
Essential Gear That Changes Your Photography Results
There are several pieces of equipment that can significantly impact your photography. A camera is the most important, as it lets you learn, and you can control it.
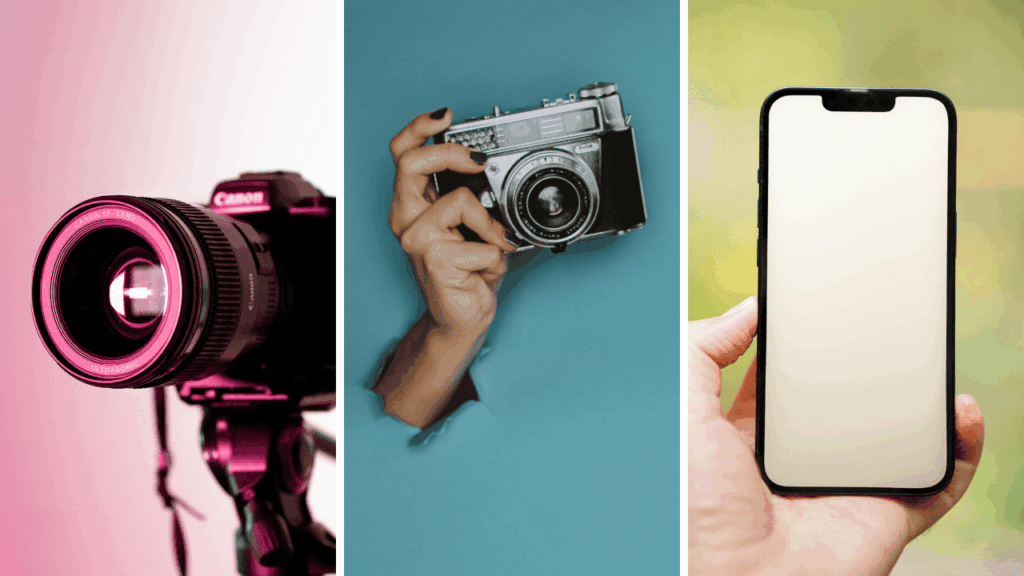
You can choose whether you want a DSLR, a mirrorless camera, or an advanced smartphone with manual controls, and this choice is essential.
Using manual or semi-manual modes can help you understand the settings, such as exposure, ISO, shutter speed, etc.
These settings act as a foundation of photography, and understanding them better can help you grow as a photographer.
A basic lens doesn’t matter if it is a kit lens or a simple prime lens, as it can be enough to start, and it can even help you understand and practice composition and framing skills.
Don’t know which lens fits your style? checkout our guide on How to Choose the Best Camera Lens: Types with Examples [2026].
A good quality memory card, a charger, and a spare battery are also some non-negotiable gear that are essential and can be really helpful in the Indian conditions.
Helpful But Non-Essential Photography Equipment
Now, after the non-negotiable and essential equipment, let’s discuss the equipment that is good to have and can be convenient.
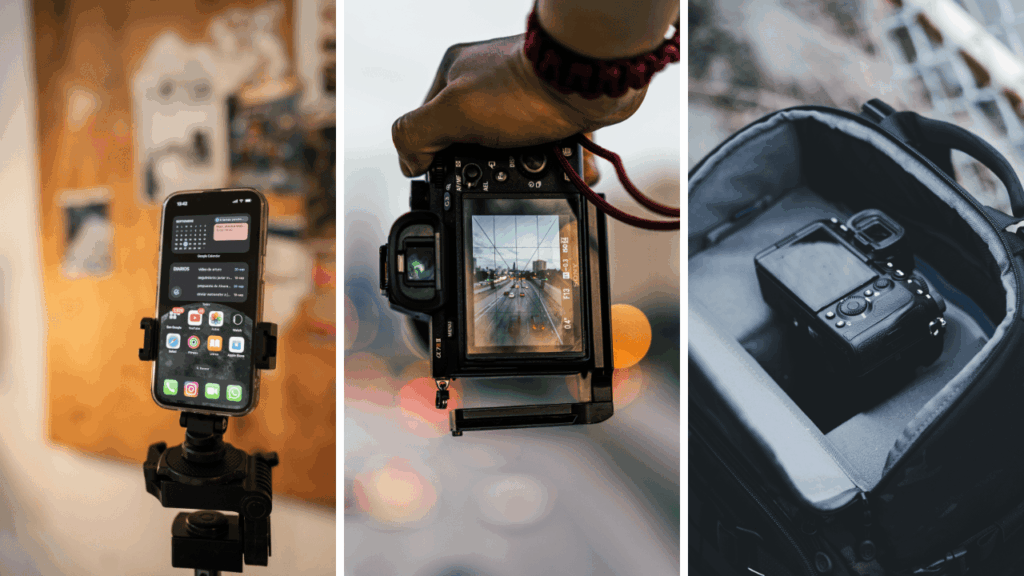
A tripod is one such piece of equipment that can help you capture stable images and is particularly useful for night photography and video.
Another one is a camera bag, which can protect your gear; it doesn’t affect the image quality directly, but can prolong your gear’s life.
Filters, external flashes, and lenses can be helpful as you explore your style and understand it clearly.
Photography Equipment to Avoid: Money-Wasting Mistakes
Many beginners in enthusiasm seem to spend on low-quality accessories, unnecessary and advanced lenses, or other expensive equipment.
Upgrading the camera more frequently can also be a common mistake.
Some beginners invest in paid editing software in the initial phases of their journey, which can slow down progress.
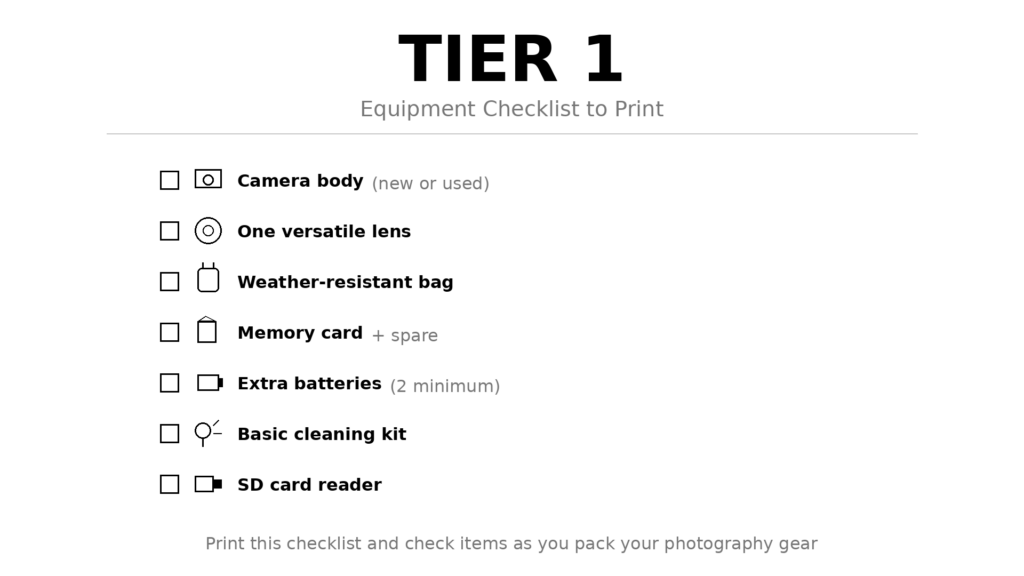
TIER 1 Starter Equipment Checklist: Essentials Under ₹30K
Let’s discuss the bare minimum and the absolutely essential gear that can help you start photography seriously without wasting any money.
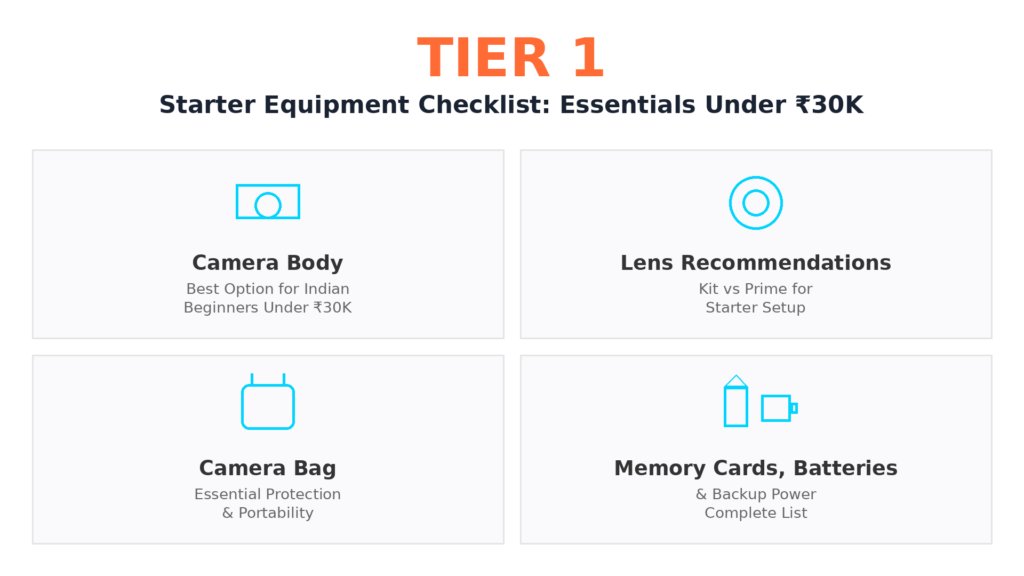
The basic budget that you can start with is ₹20-30K for the best and most reliable setup that is best suited for Indian conditions, like the heat, dust, travel, monsoon, etc.
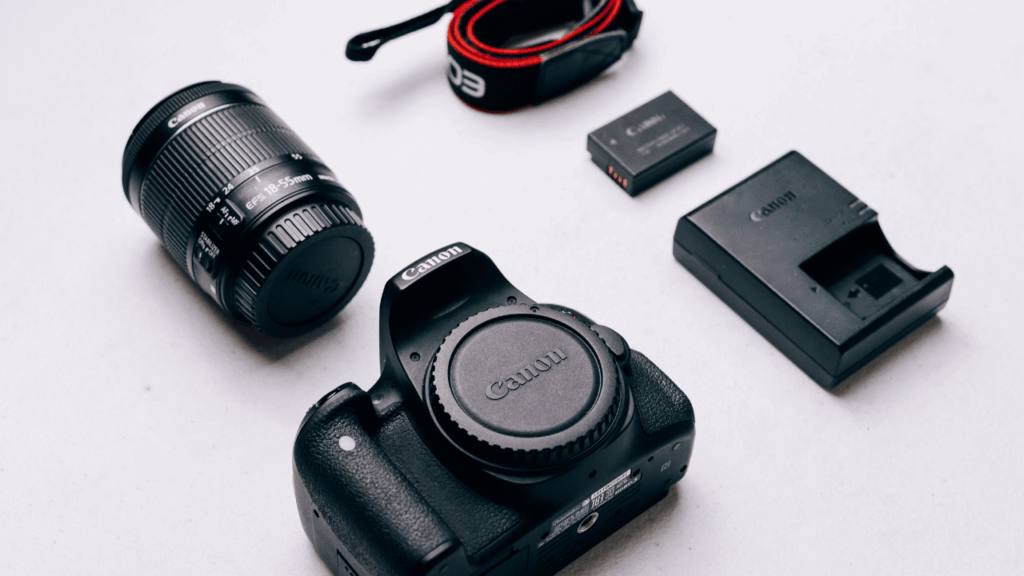
Camera Body: Best Option for Indian Beginners Under ₹30K
In a budget, we can get a used camera that offers the best value compared to new ones.
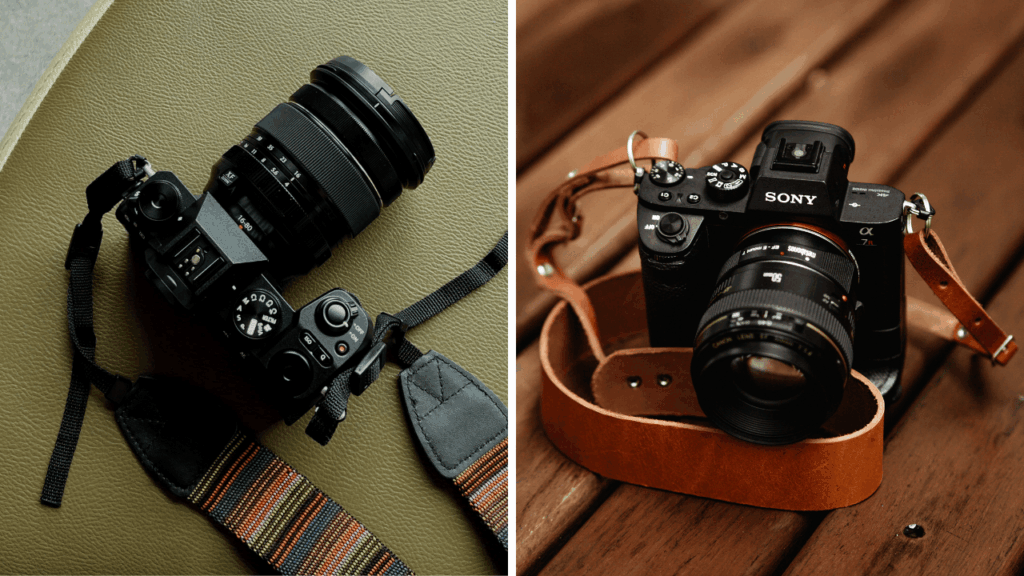
A well-maintained used DSLR or mirrorless camera can perform as well as newly purchased ones.
The best source for buying used cameras in the Indian market can be local camera shops, OLX, or there are also various verified Facebook photography pages that can be helpful.
The preferred choice would be local shops, the main reasons being the in-person deals, the ability to test, and also the short-term warranties they offer.
You should also check factors in the camera body, such as shutter speed, buttons, dials, autofocus, sensor, battery, and everything is in good condition and works well.
You should also try to buy from the brands that have service centres in major or most cities in India.
There should be a warranty with the camera to buy; you should avoid the grey market, even if they might save you some money.
You should also be on the lookout for hidden costs, such as missing chargers, replacement parts, or damaged batteries that can be extra after the purchase.
Checkout our latest guide on How to Choose Your First Camera in India, it contains all the precaution which you need to take before you buy your very first camera.
Lens Recommendations: Kit vs Prime for Starter Setup
In the case of a lens, a single versatile lens should be enough as compared to multiple low-quality or advanced lenses.
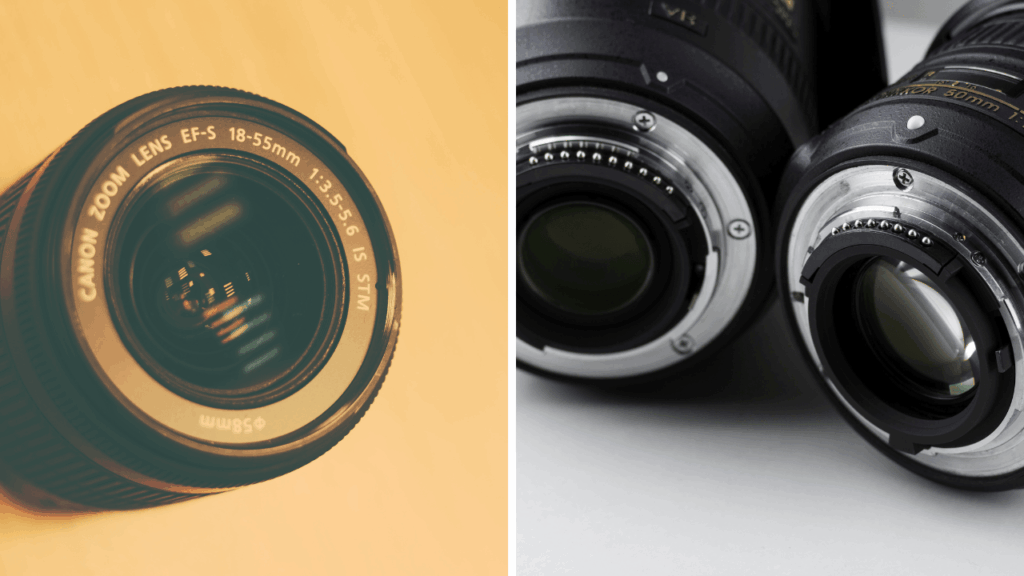
One option you can try is a standard 18-55mm kit lens, which is ideal for learning composition and works well for both street photography and travel photography.
You can consider working with multiple lenses or prime lenses once you learn and understand your style better.
The one thing in the Indian conditions that can harm your lenses is fungus; it can be costly to repair.
Before buying, you should pay attention and check the glass with a torch carefully, check the zoom, and ensure that the focus rings have smooth movement and the aperture blades.
Read more: How to Choose the Best Camera Lens: Types with Examples [2026]
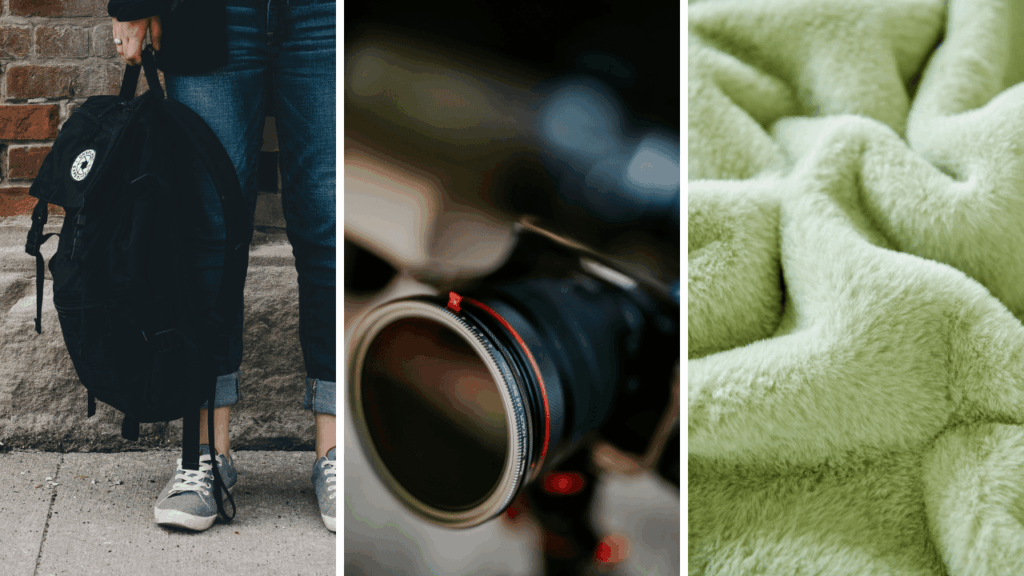
Camera Bag: Essential Protection & Portability
A camera bag is not necessarily an accessory; it is something that can protect your gear and camera.
While choosing a camera bag, make sure you choose one that is water-resistant, has sealed zippers, padded compartments, and a rain cover for extreme conditions.
You can find a variety of such camera bags on Amazon and Flipkart under a budget or you can even buy from local camera stores for similar prices.
You can start with a compact travel bag rather than a large studio backpack.
Memory Cards, Batteries & Backup Power: Complete List
For storage or memory purposes, you can use a class 10 or UHS-I SD card that too, from a reliable brand that is available in India.
Along with storage for batteries, you should always carry at least 2 batteries, as in Indian weather conditions, the heat can drain the battery quickly.
Instead of carrying extra batteries, you can also just keep a portable power bank for long shoots.
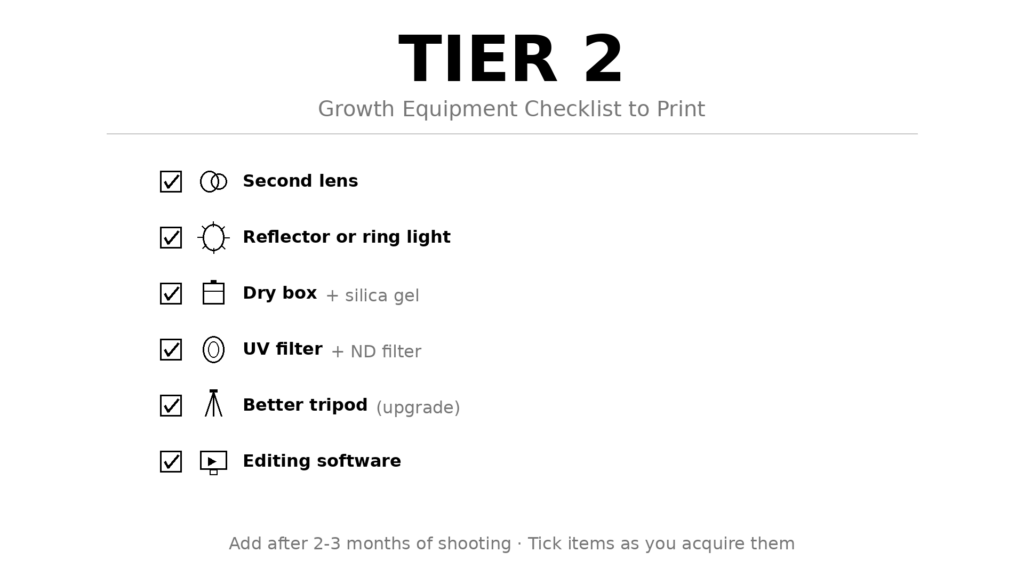
TIER 2 Growth Equipment Checklist: Add After 2-3 Months (₹20-40K)
Let us discuss expanding our capability once we know what our style is, and start to gain knowledge with more and more practice.
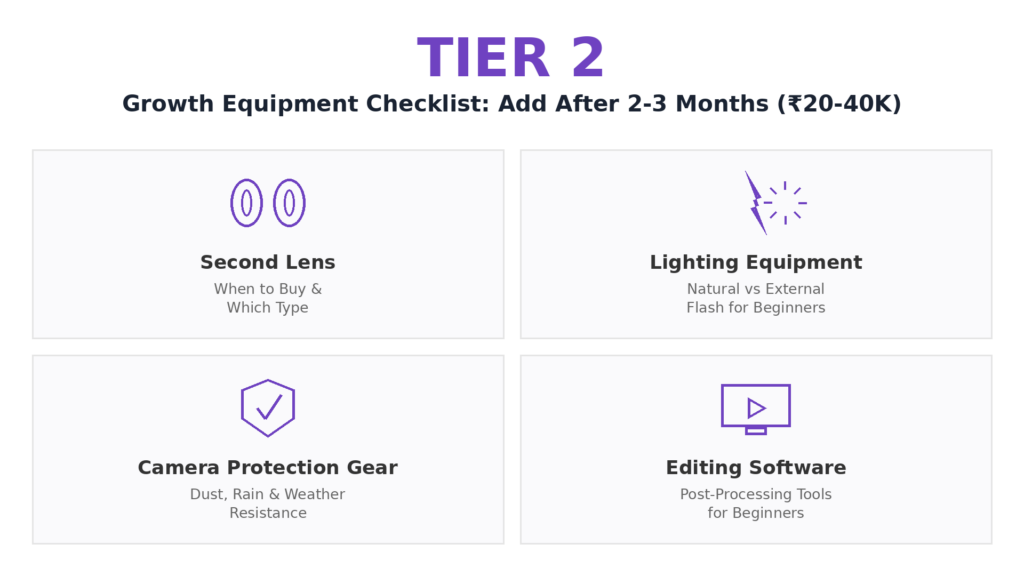
This section is for after 2-3 months of starting your journey.
Second Lens: When to Buy & Which Type
After practising for 2-3 months with the basic equipment, suggested that as you start to get the hang of it, you will also see that there are some issues that you are facing which can be solved by a second lens.
You could get a 50mm prime lens for background blur, or for better working in the low-light conditions, which results in clearer portraits.
Another choice for you could be a standard zoom lens, i.e., 24-70mm, which works for travel, events photography, and the best when flexibility is required.
There are also telephoto lens options such as 70-200mm or 70-300mm lenses.
These are ideal for wildlife, sports, or candid photography where you need to capture an instant from a distance.
Now, instead of buying a lens and making it permanent, you can consider renting and trying out a few options before making the purchase.
Lighting Equipment for Beginners: Natural vs External Flash
To improve the lighting conditions, you can use a reflector, which is the most affordable option to improve your lighting conditions, especially for portraits and product shots.
Another option can be a ring light. It is more useful in video or content creation than in any other conditions.
There is also an external flash, which offers the most flexibility and growth potential.
You can see lighting options starting from Rs 1000- 5000 available online, but you should avoid buying ultra-cheap options as they have low colour quality.
Experiments can also be done with the DIY lighting, such as window lights, using white bedsheets as a diffuser, or using aluminium foil as reflectors.
Camera Protection Gear: Dust, Rain & Weather Resistance
In the Indian weather conditions a protective gear is important.
You can use a dry box or any airtight container along with silica gel, which can prevent the fungus from growing during humid weather conditions.
UV filters can also be used for lens protection.
There are also ND and polariser filters that are not necessary but depend on the type or genre of photography you practice.
Another important protective gear is a rain sleeve or a weather cover, which is important for outdoor shooting.
Editing Software & Post-Processing Tools for Beginners
Editing is an important part of the workflow. It can complete the images in a way.
There are free software or tools such as Snapseed, Darktable, and Lightroom, which are free and can help you learn the basics of editing easily.
For many Editing software, paid options are also available, such as Adobe Lightroom, which has a monthly subscription of Rs 600-900, offering advanced features.
There are also one-time purchase options available in the market, such as Affinity Photo.
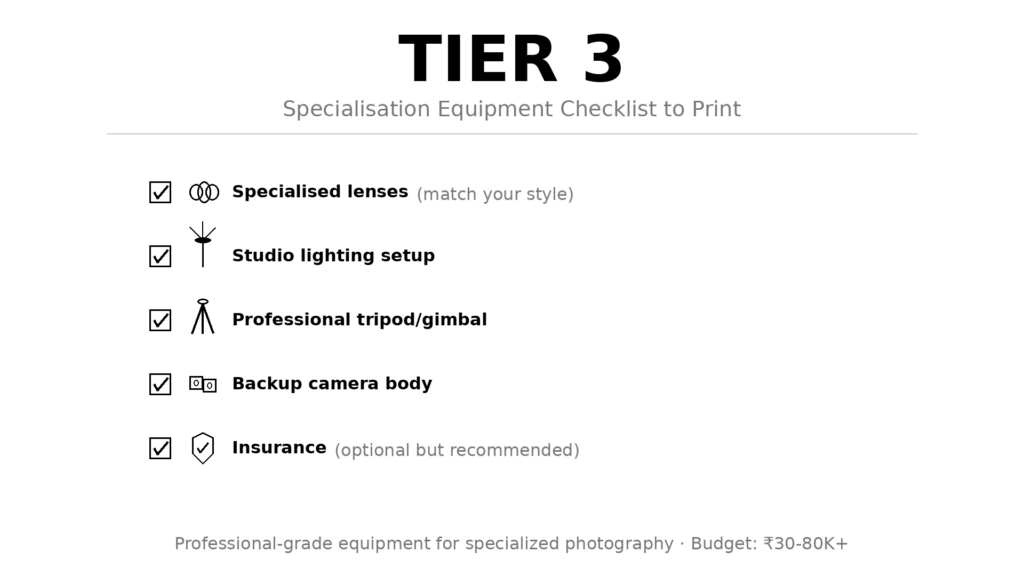
TIER 3 Specialisation Equipment Checklist (₹30-80K+)
This section deals with the more specialised needs of the photographer, which are only needed when you enjoy photography and want to improve further.
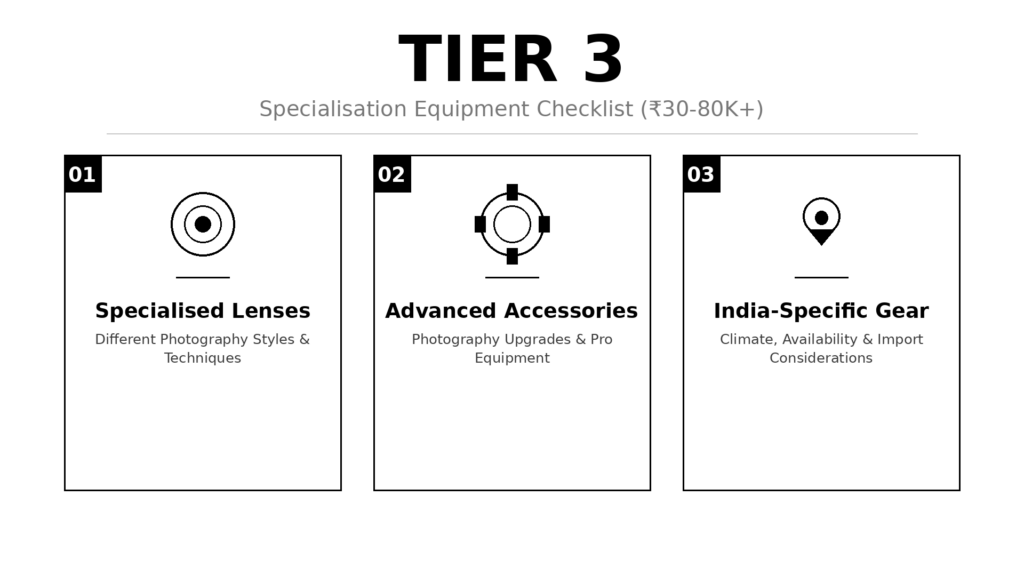
This is also especially for the photographers who know which genre they want to capture.
Specialised Lenses for Different Photography Styles
Once you decide your niche and specialisation, then only you can choose the lenses that are specialised for your needs.
For Portrait photography, there are lenses like 85mm or 70mm lenses that offer a smoother background, compression, and consistent perspective.
Adding a remote trigger helps in studio work or solo shoots.
For Landscape photography, you can try the ultra-wide lenses that have focus 16-35mm, which help with the foreground emphasis and also the expansive compositions.
High-quality ND filters for long exposures also help.
In case of Macro/detail photography, you could use lenses that have a focus of 60mm, which can help with focusing and sharpness.
Focus stacking rail can help when the depth of field is critical.
Lastly, for Street/travel photography lenses that can be used are 35mm prime lenses that have the most reliable focal lengths.
Advanced Photography Accessories & Upgrades
Here, we choose the advanced technologies that can be more helpful in convenience than in necessity.
There are professional tripods that have carbon fibre, with a solid ball head that can guarantee stability even with excessive weights.
You can even prepare a studio lighting kit that can include the key light, fill light, and soft boxes.
A proper studio lighting setup can help to attain consistent results for portraits and commercial work.
A camera gimbal or stabiliser is useful for video creators, as it can help improve the footage quality.
Plus, A Backup camera body is also required and proves to be beneficial.
India-Specific Gear Considerations: Climate, Availability & Import
Weather conditions in India hurt the camera gear, whether it is the humidity, dust, or heat.
Due to these conditions, the equipment can face a few challenges that can be new to beginners and hence are normally overlooked.
To avoid this, you have to plan your kit according to the local climate.
Monsoon & Weather Equipment Setup for Indian Photographers
For the monsoon season, the kit should be such that it can avoid moisture and protect the gear.
In the monsoon, it is most common to experience fungal growth inside the camera lenses and bodies.
To avoid these fungal growth, some of the required pieces of equipment are a waterproof or highly water-resistant camera bag so that if you are shooting and it suddenly rains, your gear is protected.
You can also use an airtight or dry box for the gear when you are not using it.
Adding Silica gel on top can help you keep it fresh, and you can even adopt a post-shoot cleaning habit during the monsoon.
A UV filter can be used on a lens, which can act as a lens protector; it costs around Rs.500-1500.
For this routine, you can wipe down the moisture from the equipment using the microfiber cloth, use a blower to remove the dust, and avoid storing the gear outdoors.
Heat & Humidity Equipment Protection Guide
Heat, especially the north Indian summers, experiences really high temperatures, which leads to faster battery drain.
In the heat, the battery can lose almost 30-40% of its capacity faster in the sun than in normal weather conditions.
This cannot be avoided, and hence you should carry extra batteries or power banks with you for longer shoots during the summer.
The dust and the pollution that are present in the urban environment can enter the mounts and controls and damage the gear.
You can get rid of the dust that gets collected inside the camera or lenses using a blower brush or a dryer.
To avoid further damage, you can carry the gear in airtight and sealed containers.
Regional Gear Availability: Where to Find Equipment in India
Metropolitan cities such as Delhi, Mumbai, and Bangalore can have almost all the pieces of equipment that you want available, and there are other options available too, like rental.
There are also service centres of almost all the brands in these cities, which can be helpful.
In Tier-2 cities, there can be a problem with the stock, and people might prefer ordering online.
In smaller towns, online shopping platforms such as Flipkart and Amazon are the only options, and delivery delays are a drawback when ordering online.
One of the things that needs to be considered the most during buying gear is the service centre proximity.
Printable Photography Equipment Checklist: Copy, Print & Shop
Using the checklist below, you can limit unnecessary purchases and get only the things that you need.
This checklist has a tier-based approach, which can be beneficial for getting items that are useful at a specific point in your journey.
It can even be seen as a spending guide that can help you stay within your budget.
TIER 1 Equipment Checklist to Print
The essentials mentioned in this tier are the gear that can help you build a strong foundation for your photography journey.
TIER 2 Growth Equipment Checklist to Print
This guide is meant when your foundation is strong, and you want to grow and experiment with your shooting style.
This checklist is made to add the gear later so that you can grow in your own as an artist.
TIER 3 Specialisation Equipment Checklist to Print
Now, the Tier 3 checklist can help you when you choose your specialisation and want to move forward with it.
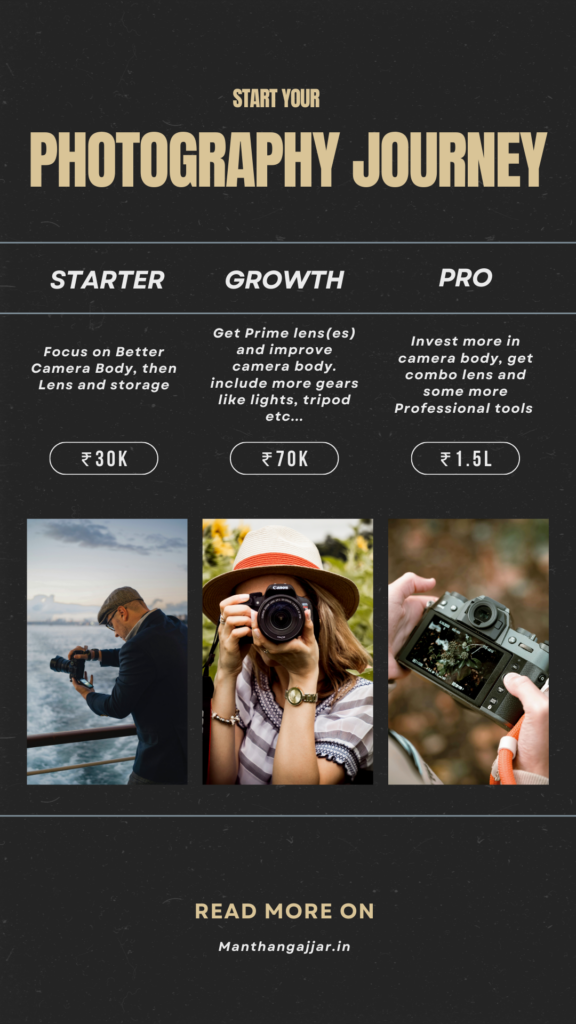
Photography Equipment Budget Breakdown: ₹30K vs ₹70K vs ₹1.5L
One of the most common misconceptions related to budget is that a bigger budget means better results.
Thoughtful allocation of the budget matters more, as it can help you avoid overspending on unnecessary items.
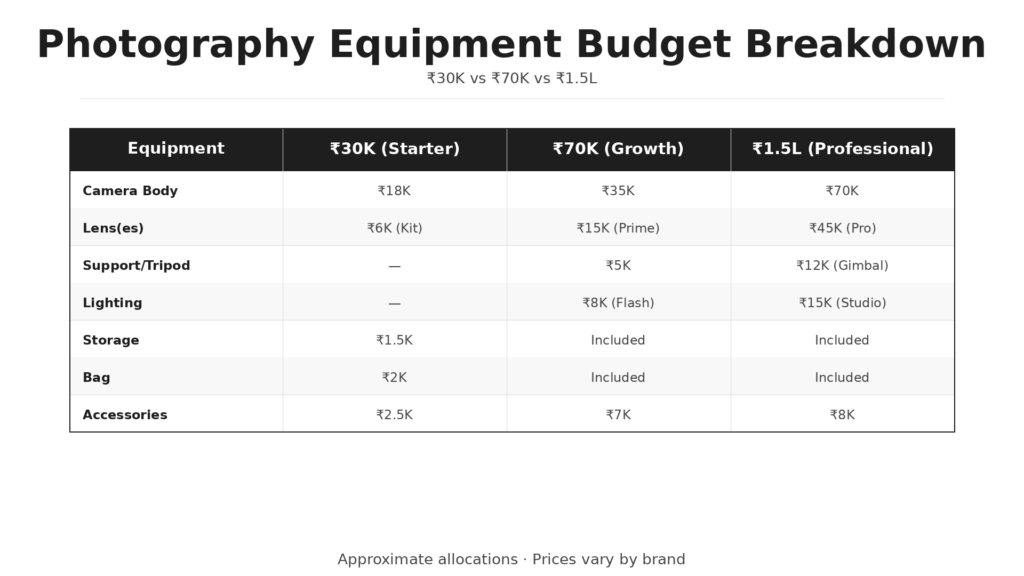
Now let us discuss different budget options one ₹30,000, ₹70,000, and ₹1,50,000.
₹30,000 Photography Equipment Budget Allocation & Recommendations
In a ₹30,000 budget, the best way to spend this budget and get a setup that works is to follow the allocation below.
Almost 40% of the funds, which means roughly Rs 12,000, should go toward the camera body. In this budget, you can get a second-hand camera that still has plenty of life left.
After the camera body, almost 25% of the budget should go to a versatile lens, one that can handle almost all the shooting conditions.
Then another 15% of the budget, which is Rs 4,500, is kept aside for the basic protection gear and, more importantly, a weather-resistant bag which can help keep your gear safe.
Now, for the extra storage space, memory, spare batteries, and other small accessories, almost 12% of the budget is required, which is Rs 3,600.
The 8% of the budget is kept aside as a buffer, which can be used to handle repairs or miscellaneous expenses, which is almost Rs. 2,400.
₹70,000 Photography Equipment Budget Allocation & Shopping List
Now let’s move on to an Rs 70,000 budget, which can be served more evenly, and better quality products can be bought.
As the budget is more than 35% of the total budget, which is almost Rs. 24,500, it is enough to buy a new and better camera body.
Now, another 30% of the budget, which is roughly Rs. 21,000, is enough to invest in two excellent lenses.
Approximately 15% of the budget, which is approximately Rs. 10,500, can be used to purchase protection gear and lighting equipment.
Now for the accessories, and for a good quality bag, almost for 12% of the budget, that is Rs 8,400.
The last 8% which is roughly Rs. 5,600, is for editing software subscription and other contingency expenses.
₹1,50,000 Professional Photography Equipment Budget Guide
With the Rs. 1,50,000 budget, you can get everything top-notch, and in this budget you can long-term equipment as well.
In this budget, the lenses are the things that should take most of the budget; hence, 40%, which is Rs. 60,000, goes toward lenses.
35% of the budget goes toward a professional camera body, which is Rs. 52,5000.
Similar to the last budget, it is seen that 15% of this too goes to protection gear and lightning equipment, almost Rs. 22,500.
The 7%, which is roughly Rs. 10,500, goes toward the software subscriptions or subscriptions and other miscellaneous expenses.
The last remaining 3% of the budget can be invested in a learning or photography course to improve your skills and learn more.
Where to Buy Photography Equipment in India: Online vs Offline Strategy
Buying and shopping for photography gear in India is a challenge, and it is about finding the pieces you want at the right prices, with warranty support, and availability as well.
Online vs Offline: Best Places to Buy Photography Equipment in India
There are various online platforms, such as Amazon and Flipkart, and others that lead to competition.

These platforms are best used for the lowest prices, availability, seasonal discounts, etc, which makes it ideal for buying accessories and other factory-sealed products.
There is also a return window and return policies, which provide limited protection.
But a drawback is that there is no way you can physically inspect the equipment before purchasing.
On the other hand, there are local camera stores that can prove to be the most reliable option for important gear.
But there is some upfront cost involved, which is higher. You can inspect, test functionality, and choose on that basis.
These offline stores offer easier access to the warranty claims and also service centres, which is critical as the kit grows.
There are also online marketplaces such as OLX or Facebook marketplace that can reduce the cost to almost 30-40% of the original cost.
But this can demand a bit of caution. Most deals might come with a warranty, but there can still be a bit of uncertainty that there might be fraud or a scam going on.
You can avoid scams by avoiding paying beforehand, meeting in person, and testing the equipment.
Best Times to Buy Photography Equipment in India: Sales & Discounts
The timing matters when you make the purchases as well.
There are a variety of sales that go on at different times of the year, such as Flipkart Big Billion Days during September and October, which offer discounts of 20-40%.
There is also Amazon Prime Day in August, which has competitive pricing.
A lot of Diwali sales in between oct-nov which have a lot of exchange offers and bundle deals.
Year-end sales also happen around December, in which the old stock is discounted, and the price drops a great amount.
Negotiation Tips: How to Get Better Prices on Photography Gear in India
If you are shopping offline, negotiation is expected.
You can ask for bundle deals, which can include the camera, lenses, and bags for a discounted rate and get a steal.
You can even ask for a warranty and check whether the accessories, such as filters or cleaning kits, are included without any additional cost.
Avoid These Beginner Photography Equipment Purchasing Mistakes
In this section, let’s discuss some common mistakes beginners make while purchasing gear that can be avoided.
Mistake #1: Buying Too Much Gear Too Fast Without Testing
The most common mistake that beginners make is buying more equipment than they need in excitement, but it can lead to confusion and overspending.
The best approach to avoid such mistakes is use the list like buying the tier-1 equipment first and then, after being comfortable with it, you can move on to tier-2.
Mistake #2: Ignoring Indian Climate in Gear Selection
Another common mistake while buying gear is not considering the Indian weather conditions, which can be problematic later.
In Indian weather conditions, the camera and lenses can be quickly damaged, especially due to fungus growth, which can lead to repairs costing almost Rs. 20,000 or more.
You should have at least 10% of your budget for the weather protection, such as bags, dry storage, silica gel, etc.
Mistake #3: Chasing Specs & Megapixels Instead of Real Performance
The photographers at the beginning tend to focus more on megapixels and specs, both of which are rarely used by beginners.
Rather than spending an extra Rs. 20,000 on such specifications, you can get a 16-24 megapixel camera for learning and getting the best images.
Mistake #4: Not Buying Used or Refurbished Photography Equipment
Most beginners avoid buying used equipment for fear that it might be damaged.
But they can miss out on substantial savings by avoiding the used equipment.
You can buy from trusted sources and inspect them carefully before buying, and even get help from an expert friend if you have one.
For more detail, checkout our full guide on Common Photography Mistakes Photographers Make (And How to Avoid Them).
Photography Equipment FAQs for Indian Photographers: Honest Answers
Some of the most asked questions about buying photography equipment for Indian photographers are answered below.
New vs Used Photography Equipment: Which Should I Buy in India?
Both are great options. If you buy a used camera, you can save around ₹5-10K, whereas new lenses can be better for warranty, reliability, and peace of mind.
Safest Places to Buy Used Photography Equipment in India Online
The safest place to buy your gear in India can be Photography forums and Facebook groups (trusted sellers), which are safer than OLX, which is extremely risky.
Most Important Photography Equipment to Invest in First: Priority Guide
Lens quality matters more than the camera body. A good, versatile lens can help you with sharpness, contrast, and image quality. The optics last forever, but bodies become outdated.
How Often Should You Replace Photography Equipment: Lifespan Guide
There can be different timelines for different pieces of equipment to be replaced, such as for a camera body: 5-10 years; Lens: 15-20 years; Accessories: 2-5 years.
Do You Need Equipment Insurance for Photography in India?
Insurance is optional, but it is smart to do so as it is only about ₹2-5K/year, and it can protect your gear against theft, weather damage, etc.
Can You Start Photography with Just a Smartphone in India?
Yes, of course, you can start with a smartphone for learning, but later upgrade to a DSLR within 3 months for serious shooting.
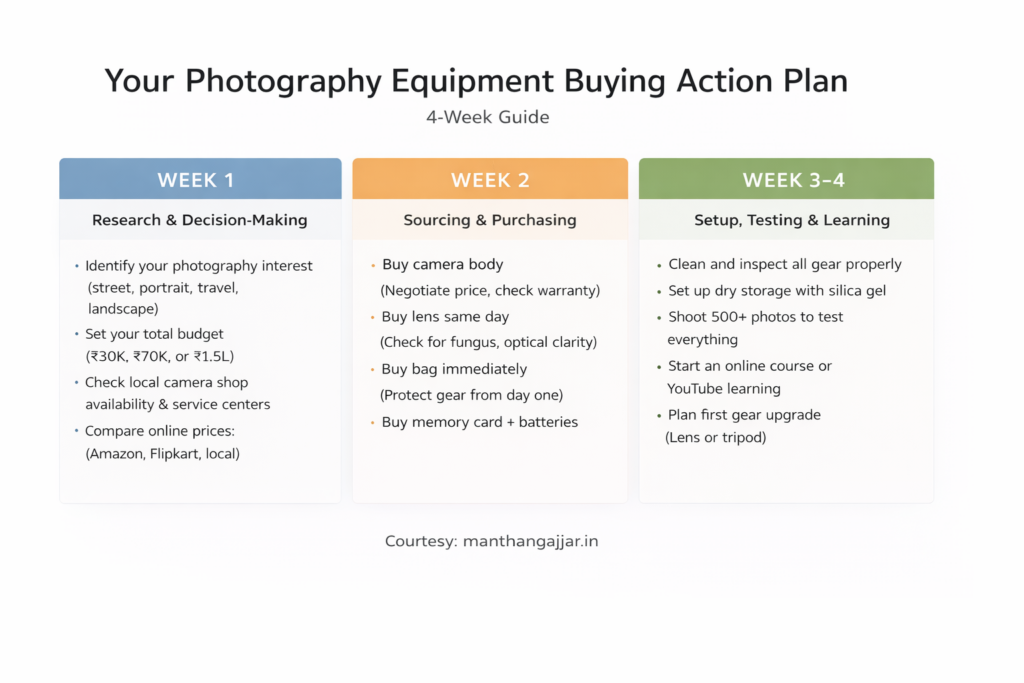
Your Photography Equipment Buying Action Plan: 4-Week Guide
Instead of making all the decisions in a single weekend, it is better to divide the tasks and spread the decisions over 30 days.
The checklist and the timeline mentioned below can help you stay focused, avoid regretful decisions, and every purchase will support your learning process in the best way possible.
Start Your Photography Journey: Equipment Matters, But Skills Matter More
Photography is all about observing, learning, improving, and telling stories through your work.
Sometimes, while starting photography, photographers get distracted by the shiny gear, but the checklists mentioned in the article above can help you stay focused and prevent impulse purchases.
There is also some Indian specific advice which can be useful, can save money and frustration.
A tier-based approach is also helpful as it can match your needs to the timings of your journey, and you can add equipment when you understand how to use it.
In India, the used market is also a huge commodity; you can leverage it and get access to better equipment at just a fraction of the cost.
The most important thing to keep in mind is that gear doesn’t make the photographer, but the fundamentals and the basic stuff like composition, light, timing, etc do.
To be a good photographer, consistency in practice is the key, and it can beat expensive equipment.
Photography is a long journey, and it can take time, but progress comes with practice.
Read more
- How to Choose Your First Camera in India | Beginner’s Guide
- Ways To Earn Money From YouTube In India | Under 6 Months*
- Best Photography Lenses for Beginners in India 2026: Complete ₹5K-₹20K Guide
- Gimbal Guru: A Comprehensive Review of the Best Gimbals | 2026
- Mobile Photography Tips And Tricks To Capture Stunning Photos