A home photography studio is basically a compact and controlled setup in your own space, and it can help you shoot your content with full control over lighting, background, and composition.
Without even stepping outside, you can get the most consistent and professional-looking results regardless of the weather or the time of day.
In recent years, we have seen a rise in content creation platforms such as Instagram, even product photography and freelancing, for which having a home studio can be more practical.
In this article, we will cover almost everything related to a home photography studio, such as how to set it up, get the right lighting, and plan a budget for the setup.
This article can even help you with a few practical tips and teach you how to apply them to get the most out of your home photography studio.
Why a Home Studio Makes Sense in India
Setting up a home photography studio is one of the smartest steps for a beginner photographer or a content creator today.
It can help you in creating high-quality content with consistency.
Saves Money on Studio Rentals
Renting a professional studio in many indian cities can be quite expensive, especially if you are a beginner.
Charges per hour, along with travel expenses and equipment rental rates, can quickly stack up.
A home photography studio can be a one-time investment and has minimal upkeep, which makes it practical and budget- friendly for the long term.
Shoot Anytime, No Booking Needed
A home studio offers convenience and creative control over your work.
It allows you to experiment with lighting, angles, styles, backgrounds and compositions.
With a home studio, you have no time pressure, and you can refine your shots until you are satisfied.
You can understand photography a whole lot better with a home studio and work at developing your unique style.
Full Creative Control Over Shots
The biggest advantage of a home studio is the convenience.

You can shoot practically anytime without worrying about the travel, bookings, or schedules.
It can be beneficial for students and people with side hustles, especially as it allows them to work according to their schedule and maintain consistency.
Earn from Home | Products, Portraits, Content
Along with platforms like Instagram, the demand for visual content is also on the rise.
A home studio can help you explore your opportunities, such as product photography, reels, freelancing, etc.
It can be a reliable source of income while you are building your portfolio.
Works in Small Indian Apartments Too
You don’t need a large or a fancy room for a home studio, even a small corner is enough.
A bedroom corner, a balcony, or even a study table near a window is a suitable space for a home studio.
A smart use of lighting and minimal equipment for a functional photography setup can build the best home studio.
How to Set Up a Home Photography Studio Step by Step
Setting up a home photography studio is not as complicated as it might seem.
You just need to make a few right and smart choices, and you can create your own home photography studio quite easily.
Pick the Right Room or Corner
As mentioned above, there is no need for a large and separate room for a home photography studio.
A small corner of any room, or a study table, is enough for a great home photography studio.
The only thing you need to worry about is choosing a space with good natural light, preferably near a window.
Natural light can be a lot easier to work with, as it is soft and easy to manage, and hence ideal for beginners.
You should also try to keep the space clean and clutter-free, so your subject remains the main focus in your work.
Also, choose a place where you can keep your setup always ready or easily assemble it when required.
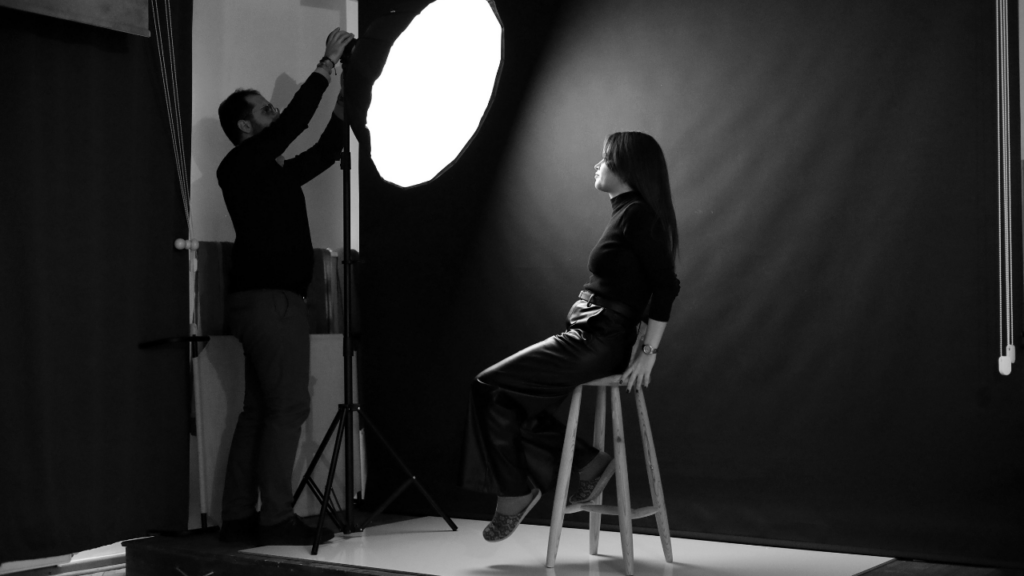
Lighting Setup for Indian Homes
Lighting is the most important part of photography.
Natural light is your best friend if you are just a beginner and starting your journey.
You can start by positioning your subject near a window and try to shoot in the early morning or evening for soft and diffused lighting.
While using natural light, if it is too harsh, you can use a curtain to soften it.
In case you need more control, you can go ahead and use artificial lights such as ring lights or softboxes.
Ring lights are the best for portraits and videos, and softboxes work best for product shots.
A hack can be to use thermocol sheets, aluminium foils, or even white boards as a reflector to bounce the light and reduce the shadows.
Backgrounds | DIY vs Readymade
A simple and clean background can certainly elevate your photos instantly.
You can create the perfect background setup by using a plain wall or by just using a chart paper, fabric, or even printed sheets if you want to.
Neutral colours like white, beige, or grey are the most versatile and work well for most subjects.
For product shoots, you can put them on a flat surface, extend the backdrop, and create a seamless look.
You should avoid using a cluttered and overly colourful background, which can distract the viewer from the main subject.
You should try to keep the setup simple and visually balanced.
Camera or Smartphone | What Works?
To start your photography journey, you don’t need an expensive camera.
Smartphones today have extremely great and capable cameras, and can offer excellent camera quality, which is more than enough for producing high-quality images.
In the start, you should focus on learning about composition, lighting, angles, and experiment with these factors to get the best results.
As you move forward in your journey, you should try to consider a mirrorless camera as compared to a DSLR, but a DSLR works too.
A mirrorless camera offers better control over aperture, shutter speed, and ISO.
You should just start with what you have and upgrade only when you are comfortable, and it becomes extremely necessary.
- Check out the full guide on Camera vs Smartphone Photography: Buyer’s Guide for India 2026
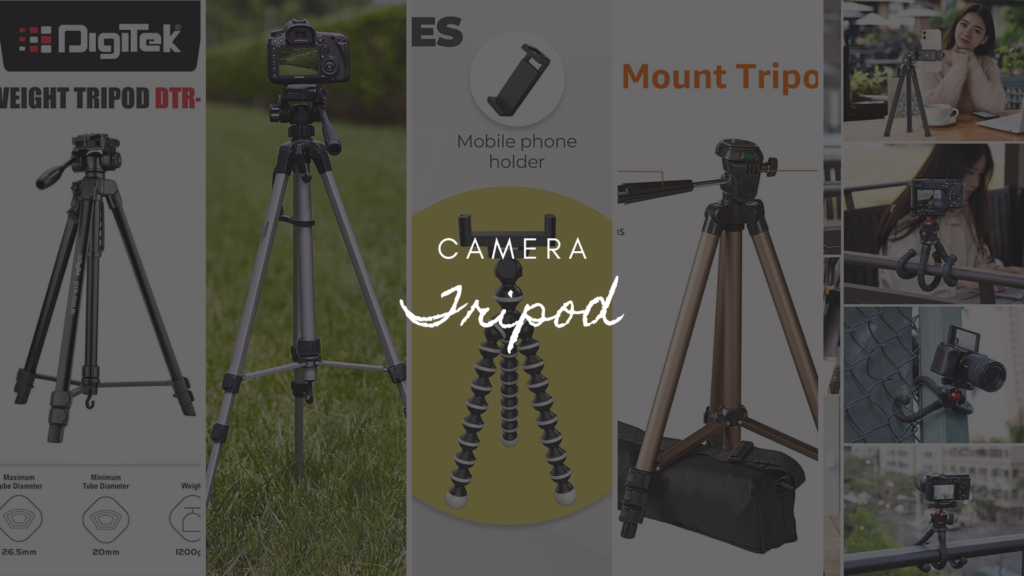
Tripod | Why You Can’t Skip It
A tripod can be a simple but essential addition to your home studio.
A good tripod can help you avoid blurry images and maintain the same frame across multiple shots, which is important for a content series or a product photoshoot.
A tripod can be especially beneficial in low-light conditions or while shooting videos or reels.
It can help you keep your images stable, sharp, and clear.
There are a lot of affordable tripod options available in the indian market that are compatible with both smartphones and cameras.
It can be a small investment, but it can have a great impact on your work and make shooting easier.
Props & Styling for Indian Content Creators
Props can help add personality and context to your work.
There is no need to buy expensive props, but you can use the everyday objects found in indian home, which work with your shoot.
Objects such as books, cups, candles, trays, duppatas, etc., can help you enhance your composition.
You should try to match the props you want to use with the theme of your shoot and avoid overcrowding the frame.
Less is more often than not more in photography.
You can even try to play with textures like cloth, wood, or metal, and can add interest to your frame.
Basic Photo Editing After the Shoot
Editing can improve your images and bring your work to life.
There are a lot of great apps and software in the market, such as Lightroom or Snapseed, which are easy to use and are widely available.
Editing can help you correct and refine your images by making just a few minor and basic adjustments, such as brightness, contrast, sharpness, etc.
Colour corrections are important and can help your images look more natural and consistent.
But you should avoid over-editing and heavy filters as they can make your images look unrealistic.
Subtle adjustments can help you get the best results and help your work look clean and professional.
Useful resources to start learning Editing
Full Budget Breakdown (Under ₹5,000 to ₹25,000)
It is not impossible to get a home photography studio in India on a modest budget.
Starter — Under ₹5,000
Use what you have at home

Basic — ₹5,000–₹10,000
Your first real setup
Intermediate — ₹10,000–₹15,000
Consistent, predictable results
Pro-Ready — ₹15,000–₹25,000
Client-level output at home
You can get a great home photography studio anywhere between Rs 2000 and Rs 10,000, depending on your needs and preferences.
Start with the basics and essentials such as tripods, a small light source and basic backdrops.
You should also try to save some money with the props and items that are available at home.
As you move forward in your journey and you start earning through your work, you can go and upgrade and make new additions to your home photography studio.
The main idea is to start with what you have and then build on it as you move forward.
Home Studio Photography | Your Questions Answered
Some of the most frequently asked questions about the home photography studio are answered in the section below.
Can I Set Up a Studio Under ₹5,000?
Yes, certainly you can build a home photography studio on a low budget.
You can start by using natural light and using simple DIY ideas that you can find around the house.
Backdrops can be made using charts, bedsheets, curtains, etc.
You don’t need expensive gear to create something great; you just need creativity.
How Much Space Do I Actually Need?
A home photography studio doesn’t necessarily have to occupy much space.
You can make one in just a small corner of your room or even a balcony.
For product photography, a small and compact table setup works, but for portraits, you might need a bit more space for positioning.
Which Light Is Best for Beginners in India?
Natural light is the best for beginners.
A window can help you with soft and even lighting for your photographs. You can get the best images with natural light during morning and evening hours.
You can even use curtains or thermocol sheets to diffuse the strong light and balance shadows.
You can add a basic ring light to get more control over the lighting and get more consistent results.
Do I Need a DSLR or Will a Phone Work?
No, a professional camera is not exactly a requirement for getting your photography career started.
Smartphones today have powerful cameras that can capture high-quality images.
You should focus on understanding light, angles, and composition.
You don’t exactly need a camera in the beginning; you can use a smartphone, and then when you gain confidence, you can consider moving up to a professional camera.
How to Make Home Studio Photos Look Professional?
In order to make your photos look more professional, you need to focus on lighting, background, and composition to get great images.
You should avoid clutter and make sure your subject is highlighted.
Editing is also a key part of getting the images to look more professional; it can help get the best brightness, contrast, colour, etc.
Final Thoughts | Start Small, Upgrade Slowly

A home photography studio is a simple, affordable, and powerful way to start creating great professional-looking content without spending a lot.
You don’t exactly need a large space, a small area, and a basic, simple, and affordable setup.
Using this setup, you can start by producing high-quality images from the comfort of your own home at your own convenience.
The basic idea behind this is to begin with what you have, get the best results using it, and go on from there.
A great home photography studio can help make photography more accessible and easier for beginners and aspiring content creators.
You can start with natural light, a simple backdrop, and even go with a few DIY ideas to get better results in your work.
With the growth in content platforms such as Instagram, having your own studio can help you create your content anywhere, and you can build your portfolio steadily.